CorelDraw Training Course Part-2


Previous Lesson Corel Draw Part-1
Edit Menu

1. Undo (Ctrl+Z)
2. Redo (Ctrl+Shift+Z)
3. Cut (Ctrl+X)
4. Copy (Ctrl+C)
5. Paste (Ctrl+V)
6. Paste Special :- We can paste our formatted text unformatted text
7. Delte (Del)
8. Symbol
(A). Covert to Symbol:- We can change the selected object in to style . after doing changes in to symbol, we cannot do changes in to the object or we can insert symbol from library
(B). Edit Symbol:- We can do changes in symbol.
(C). Finish editing symbols:- We can finish the the editing symbol.
(D). Convert to Object:- We can changes symbol to object.
(E). Duplicate (Ctrl+D):- We can create duplicate copy of selected object.
10. Clone:- We can create duplicate copy of object but when we do changes in original object it will
automatically apply on clone.
11. Copy properties from:- We can paste the copy the properties of selected object and apply on another object.
12. Step and Repeat (Ctrl+Shift+D):- We can paste the selected object according to no of copies in horizontal or vertical.
Steps:-
- Select the object.
- Click on edit menu.
- Click on step and repeat.
- Give no of copies.
- Give horizontal and vertical offset and set spacing.
- Click on apply.
13. Overprint Outline:- We can make transparent selected object outline.
14. Overprint fill:- We can transparent selected object fill colour.
15. Find and replace:- We can find and replace our any text or object.
16. Select:- We can select all text, object, node, guideline, in our file.
17. Insert barcode:- We can insert barcode in our file.
18. Insert object:- We can insert object from any other file to open fill e.g:- Bitmap image, Clipart gallery etc.
19. Property (Alt+Enter):- We can show property of selected object.
Effect Menu
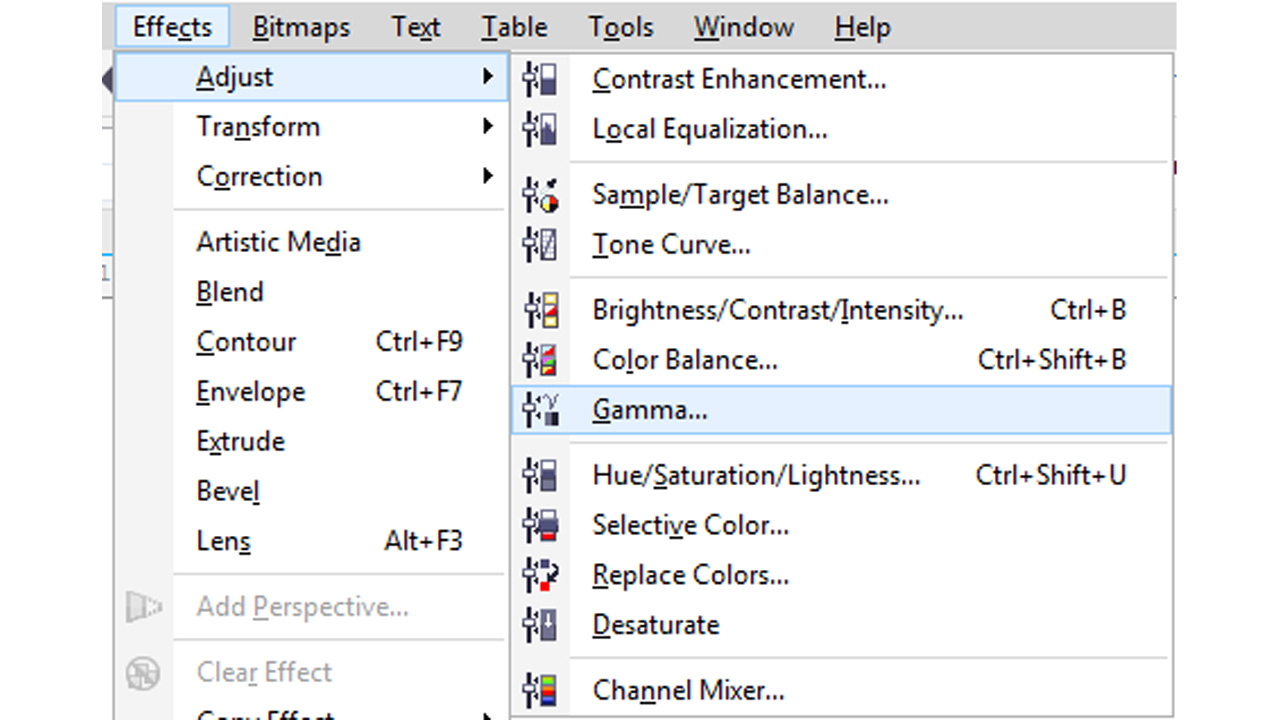
We can give changes to the effect applied on object, this option is used after using tool to show the
changes from property window of effect, we can also apply effect on image.
1. Artistic media:- We can show the property docker window of artistic media tool.
2. Envelope tool:- We can show property window of envelope tool.
3. Contour tool:- We can show or hide the property window of contour tool.
4. Blend tool:- We can show or hide the property window.
5. Extrude tool:- We can show or hide the property window.
6. Perspective grid:- We can show perspective grid and with the help of perspective grid, we can give
transformation to the selected object and can show in depth.
7. Lens Effect (Alt+F3):- We can apply lens effect on selected object.
Steps:-
- Select the object.
- Place on text.
- Click on effect menu.
- Click on lens.
- Select the effect.
- Click on apply.
8. Create boundary:- We can create outline boundary of selected object separately.
9. Power clip:- We can arrange any object in any shape.
(A). place inside container
- Steps:-
- Select the shape.
- Click on effect menu.
- Click on power clip.
- Click on place inside container
- Click on object.
(B). Extract from container:- We can separate the shape.
(C). Edit container:- We can do changes in selected object.
(D). Finish editing this level:- We can finish the editing.
10 . Clear effect:- We can copy the effect applied on object and can apply on any other object e.g:- Drop shadow, Power clips, extrude, lens etc.
- Steps:-
- Select the object to apply on effect menu.
- Click on effect menu.
- Choose the effect.
- Select the object from where you want to copy the effect.
11. Copy Effect :- We can copy the effect applied on object and apply on any other object eg:- drop shadow, power clip, extrude, lens etc.
Steps:-
- Select the object to apply on effect.
- Click on effect menu.
- Click on copy effect.
- Choose the effect.
- Select the object from where you want to copy the effect.
12. Clone effect:- We can apply effect on selected object same as copy but if we do any changes in original effect it will automatically applied on clone object.
Tool Menu

1. Option(Ctrl+J):- We can changes general setting eg:- Tool, guide, colour palette etc. we can switch on fill open curves option, after that we can fill colour in open shape.
2.Customize:- We can create our own toolbar.
- Steps:-
- Click on tool menu
- click on customize
- Click on tool
- Click on new
- Give the name
- click on ok
- Click on command
- Drag the command and insert in a create menu
3. Save setting as default:- We can save the setting of our open file.
4. Colour management:- We can changes the colour setting of our open file.
5. Save setting as default:- We can set current setting of file as a default set.
6. Object manger:- We can show or hide layer window.
7. View manger (Ctrl+F2):- We can save different zoom view of a file e.g:- if we want to work in the same zoom % that we can save zoom view.
8. Undo docker:- We can show or hide undo docker window.
9. Colour style:- We can create different shade of same colour.
10. Palette editor:- We can create new colour palette.
- Steps:-
- Click on tool menu.
- Click on colour palette.
- Click on new
- Save the file by giving name.
- Select the colour or click on add to palette.
- Click on save.
11. Graphic and text style (Ctrl+F5):- We can apply different font style on selected text eg:- bullet, paragraph etc.
12. Create
(A). Arrow:- We can create new arrow style
Steps:-
- Select the shape
- Click on tool menu
- Click on create
- Click on arrow.
- Select the line to apply.
- Select the arrow style from line tool.
(B). Pattern:- We can create new pattern style.
Steps:-
- Click on tool menu.
- Click on create
- Click on pattern.
- Select full pattern or two colour.
- Select area.
- save by name.
Bitmap Menu

1. Convert into bitmap:- We can convert the selected shape into bitmap object, without converting into bitmap we can not apply bitmap effect.
2. Auto adjust:- We can automatically adjust object colour or bitmap image.
3. Color setting:- We can changes colour setting of selected image according to requirement.
4. Edit bitmap:- We can give modification to the bitmap object or image by editing in to Ms paint application.
5. Tracing:- We can trace the selected object or image using different option.
6. Colour Mode:- We can changes the colour mode of selected image e.g Grayscale, CMYK, RGB etc.
7. 3D Effect:- We can apply some effect on selected bitmap image. E.g:- Sphere, page curl etc.
8. Blur:- We can apply blur effect on selected image or object. E.g:- Motion blur, radial blur
9. Texture:- We can apply texture effect on selected object.
10. Art stroke:- We can apply art style.
11. Contour:- We can do tracing with this option show in outline view only.
12. Creative:- We can apply creative on selected image.
13. Distort:- We can apply distortion effect.
11. Contour:- We can do tracing with this option show in outline view only.
12. Creative:- We can apply creative on selected image.
13. Distort:- We can apply distortion effect.
Window Menu
1. New Window
2. Cascade
3. Tile Horizontal
4. Tile Vertical
5. Arrange icons
6. Colour palette:- We can show or hide colour palette.
7. Tool bar:- We can show or hide tool Properties.
8. Docker:- We can show or hide property docker window.
(I). Properties (Alt+Enter)
(II). View manger (Ctrl+F2)
(III). Symbol manger (Ctrl+F3)
(IV). Contour (Ctrl+F9)
(V). Envelope (Ctrl+F7)
(VI). Lens (Alt+F3)
(VII). Refresh (Ctrl+W)
9. Close
10. Close all
File Menu
1. New (Ctrl+N)
2. open (Ctrl+O)
3. Save (Ctrl+S)
4. Save as (Shift+ctrl+S)
5. New from template:- We can take new file from template.
6. Import:- We can open the file of different application e.g:- Jpeg, Tif, Png etc.
7. Export:- We can save the file of Corel with different extension.
8. Exit (Ctrl+Q)
2. open (Ctrl+O)
3. Save (Ctrl+S)
4. Save as (Shift+ctrl+S)
5. New from template:- We can take new file from template.
6. Import:- We can open the file of different application e.g:- Jpeg, Tif, Png etc.
7. Export:- We can save the file of Corel with different extension.
8. Exit (Ctrl+Q)
Table Menu
1. Create New Table:- We can create new table by giving no of row and column
2. Convert text to table:- We can convert our selected text on to table.
3. Insert:- We can insert row, Column in table.
4. Select:- We can select cell row, column table.
5. Distribute row evenly:- We can distribute all row in equal size.
6.Distribute column evenly:- We can distribute column equal size.
7. Merge cell:- We can combine cell.
8. Split into row:- We can divide column.
9. Un merge cell:- We can not merge cell.
10. convert table to text:- We can convert table in to text.
Thank You So Much
If any question please put the comment I will replay

Leave a Comment